


I am still excited about building my own makeshift ventilator. Because I learn a lot about human breathing in the process. After I learned a lot with the first assembly of my ventilator I will follow the instructions of Oxygen concerning the housing with the second assembly. For the drive and the bearing of the rocker which presses the AMBU Bag I use a similar construction. The windshield wiper motor will transfer the rotation directly to the camshaft in my 2nd setup. Actually the Oxygen project plans to use two equally sized gear wheels. I hope to find a good solution how to extend the drive axle of the wiper motor. Further my construction differs in the bearings of the rocker and the ball bearings which are used to apply the pressure on the AMBU Bag. So the housing has the same dimensions and differs only in a few details.
For the electronics I will reuse the same as for the 1st experimental setup of the ventilator. I had already mounted them on a board so that I can simply continue to use them. So the following article shows with some pictures my experimental setup.
DIY ventilator construction wiper motor AMBU Bag
Construction of housing
I have followed the instructions of the OxyGen project in many parts and have adapted the case to my needs with the adjustments listed at the beginning. The instructions how to build such a ventilator can be found here: OxyGen
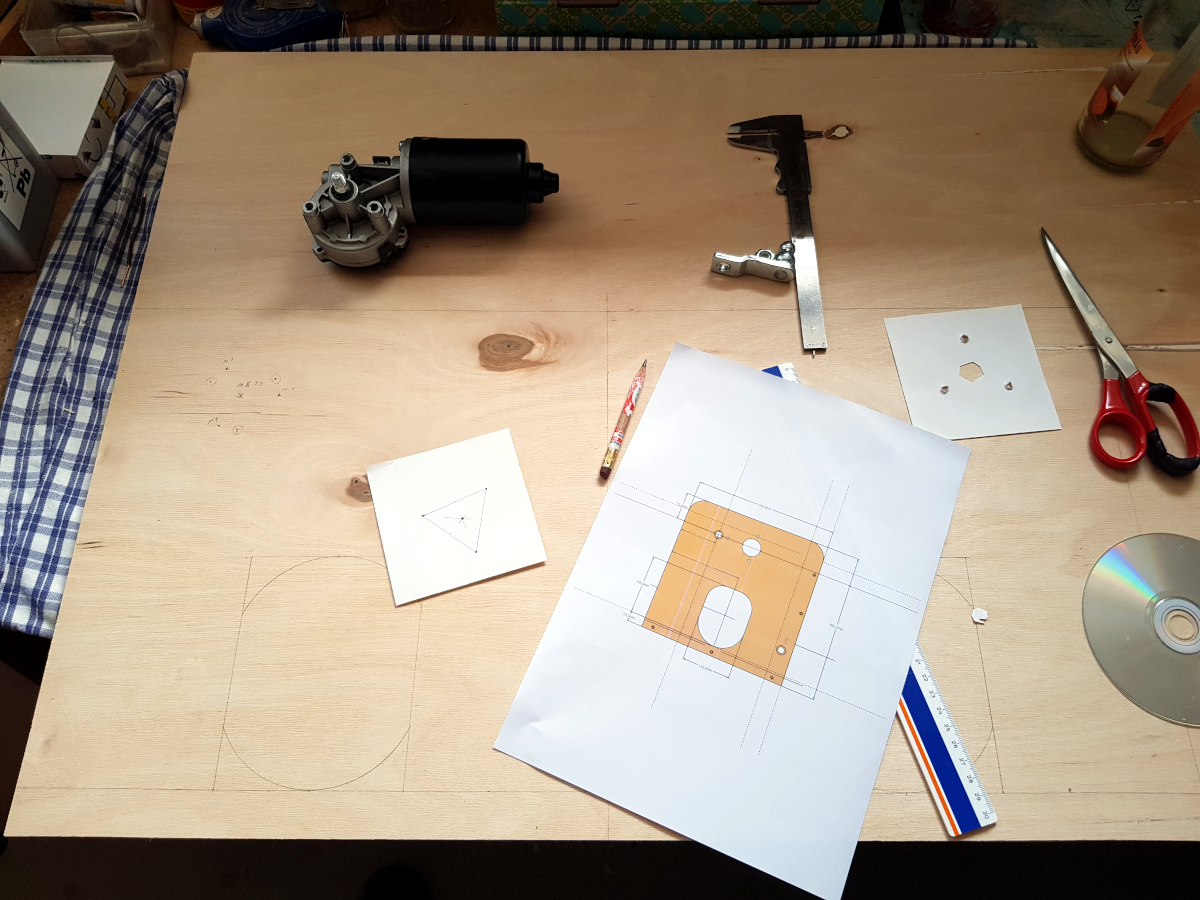
I allowed me to download the manual of the project first and to make the missing dimensions. When I had entered the relevant dimensions I printed the manual.
Then I went on to transfer the case parts to a large wooden plate with the dimensions 800 mm x 600 mm x 9 mm and prepared everything for sawing.
DIY ventilator construction wiper motor start
Assembly
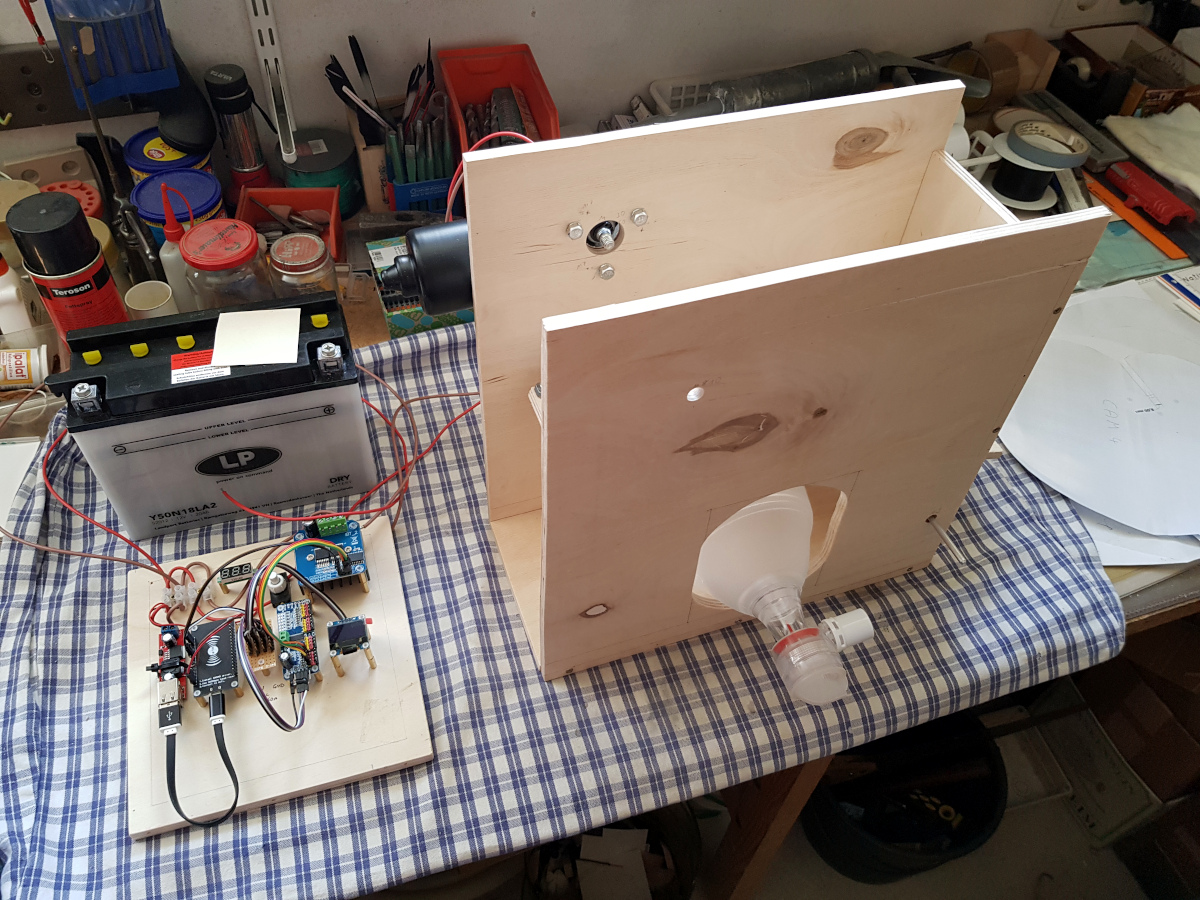
The case I cut out of a 9mm multiplex board according to the description looks like the following picture after assembly. It is the second assembly and I am very satisfied with the multiplex material. It gives the case the necessary stiffness and nothing wobbles. I was able to screw the boards together very well with 3mm x 20mm wood screws. I did not use glue at all.

DIY ventilator construction wiper motor case overview
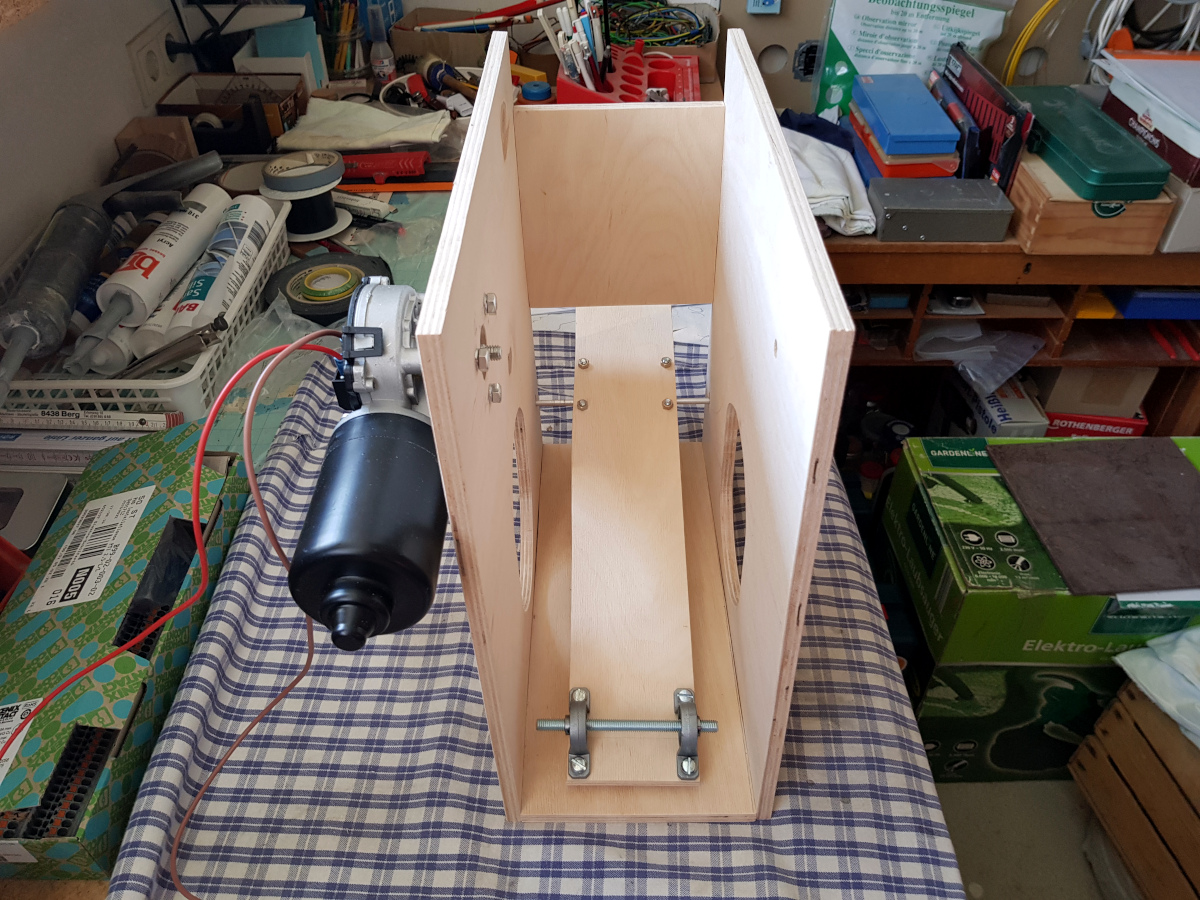
The following picture shows the mounting of the plate that presses on the AMBU Bag. Here I decided to use two pillow blocks with an inner diameter of 8 mm. These I had left from my big robot car projects. What is still missing here is the counterweight so that the plate lifts itself in front and tilts upwards. So the AMBU Bag is relieved when it expands again.
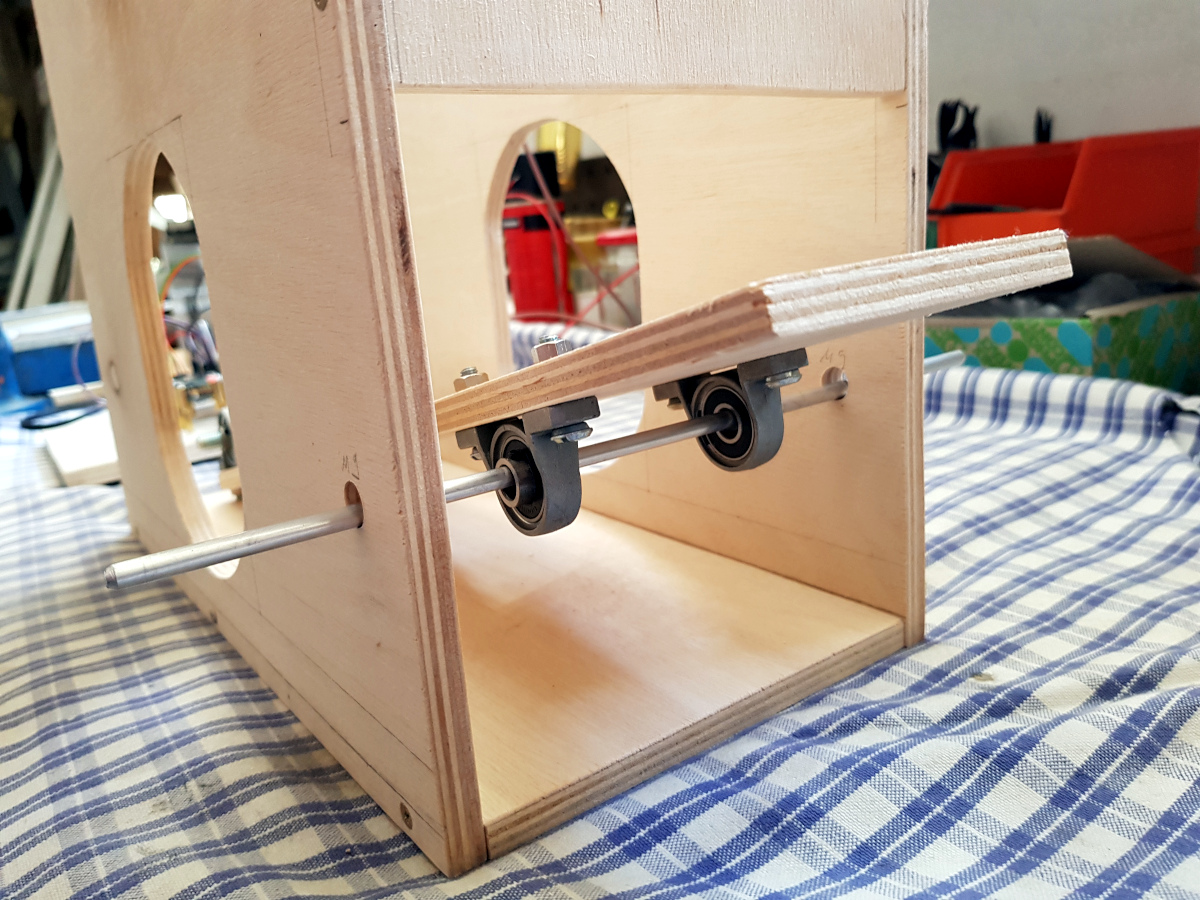
DIY ventilator construction wiper motor construction
Here you can see the slot into which the AMBU Bag is inserted. You can also see the plate that presses on the bag. I will file the edges of the plate round in the area where the AMBU Bag is pressed together.
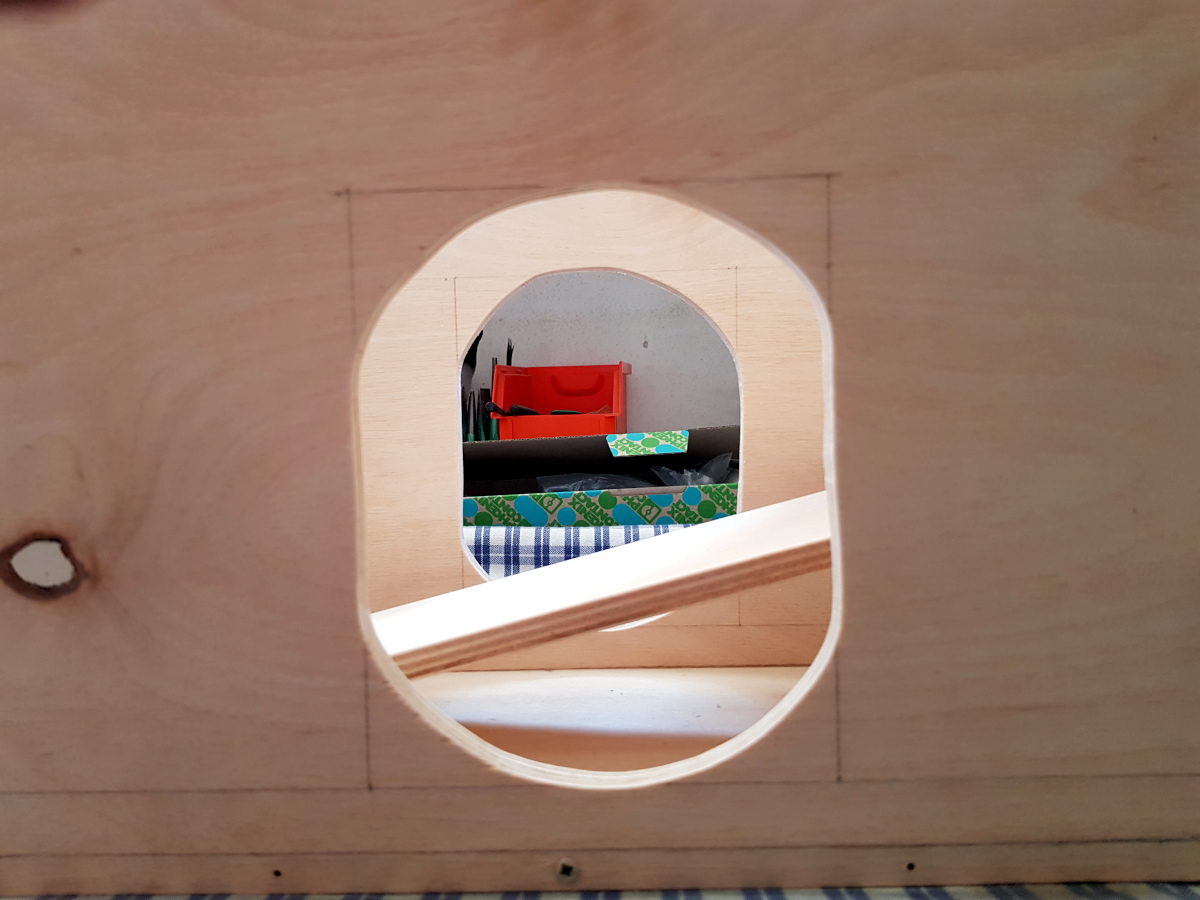
DIY ventilator construction wiper motor case
The pillow blocks
Here is another shot from the front through the housing to the back. In the foreground you can see the two pedestal bearings with the 8 mm axle. The camshaft (Leva Cam) presses on this axle. So the pressure on the AMBU Bag is transmitted by the rotating camshaft.

DIY ventilator construction wiper motor ball bearings
Here you can see the wiper motor on the left side of the picture. Still missing is the axle on which the camshaft, the Leva Cam, is mounted. I’m not sure how I will do that to make it stable and not fall apart. But I will think of something.
DIY ventilator construction wiper motor mount
The picture shows again the housing of the ventilator, photographed from the side with inserted AMBU Bag.
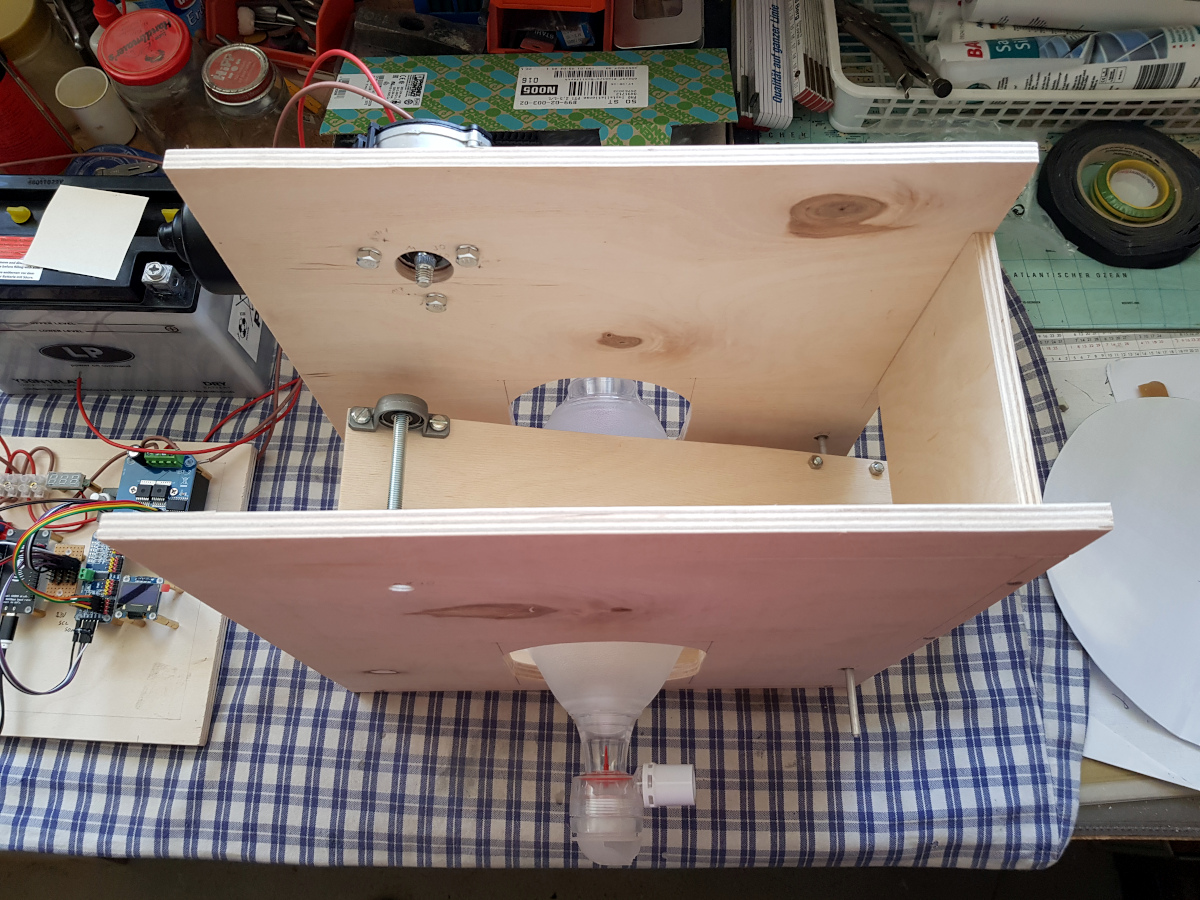
DIY ventilator construction wiper motor Ambu Bag
Summary
I find the manual of the OxyGen project very good and described in detail. So it is quite easy to build the makeshift ventilator yourself. With the manual I was able to cut out and build the case in a short time. I think I needed about 3 hours for this. I cut everything outdoors on an old door that was used as a workbench. Of course the use of a jigsaw and a drilling machine speeded up the whole project a bit. Even the edges, which were cut out a bit imprecisely, I was able to screw together well. The deviations were only a few millimeters.


Recent Comments